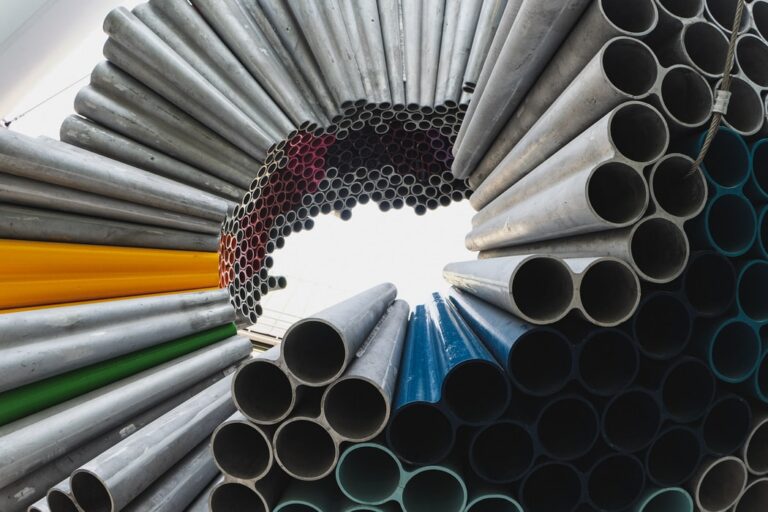
You are surely already familiar with some of the stainless steel’s features, such as rust and corrosion resistance, durability, and its aesthetic appearance. These are the main reasons why it is so widely used nowadays, and why it is the main part of so many different products we use on a daily basis.
Still, has the production process of stainless steel ever crossed your mind? Not a lot of people think about it. They just want to enjoy its benefits. Well, in the following article, we will discuss the matter of how stainless steel is made and also provide you with some additional details.
Two main steel casting processes
There are two main casting processes that are used nowadays. We are talking about Investment and Sand Casting process. As you can assume, both of these have a specific set of pros and cons, but we will take you on a production journey step by step. If you are interested in learning more about these, click here.
Investment Casting Process
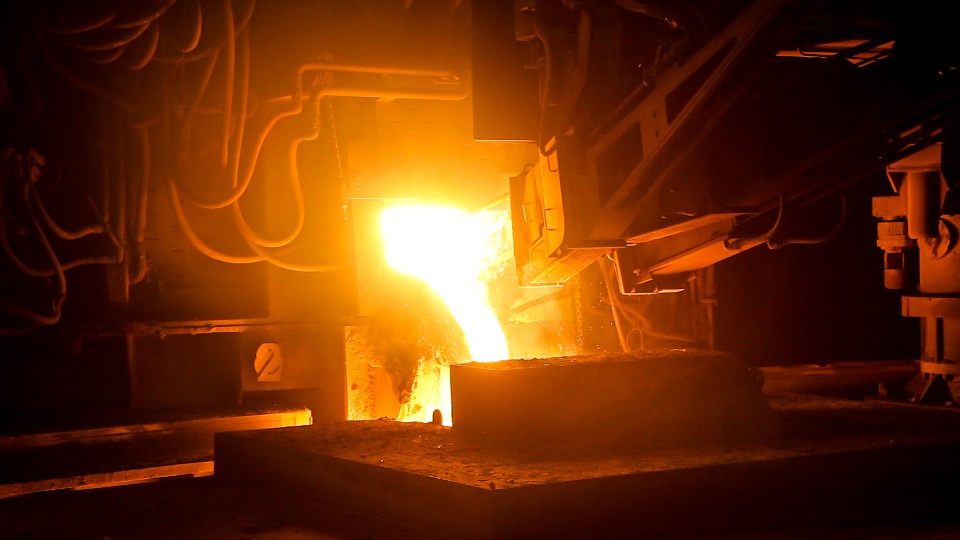
First things first, as you can assume, professionals have to build a mold that will be used to create an item. This pattern can be made from plastic, clay, wax, or wood. Today, due to the development of technology, 3-D printing is often used, and the truth is that this method can save manufacturers a lot of time.
Once the pattern is finished, the manufacturers inject wax into it to create a wax pattern. Depending on the type of item, this can be done in one of two ways. They can either choose to create a sort of a shell about 3mm thick or, on the other hand, they can fill the entire mold with wax and get a solid object in the end.
The next step is called the shell coating, and basically, it involves dipping the pattern into a semi-liquid mixture. This step is repeated several times until the right thickness is achieved. Finally, a ceramic shell will be created that will require some time to dry off completely.
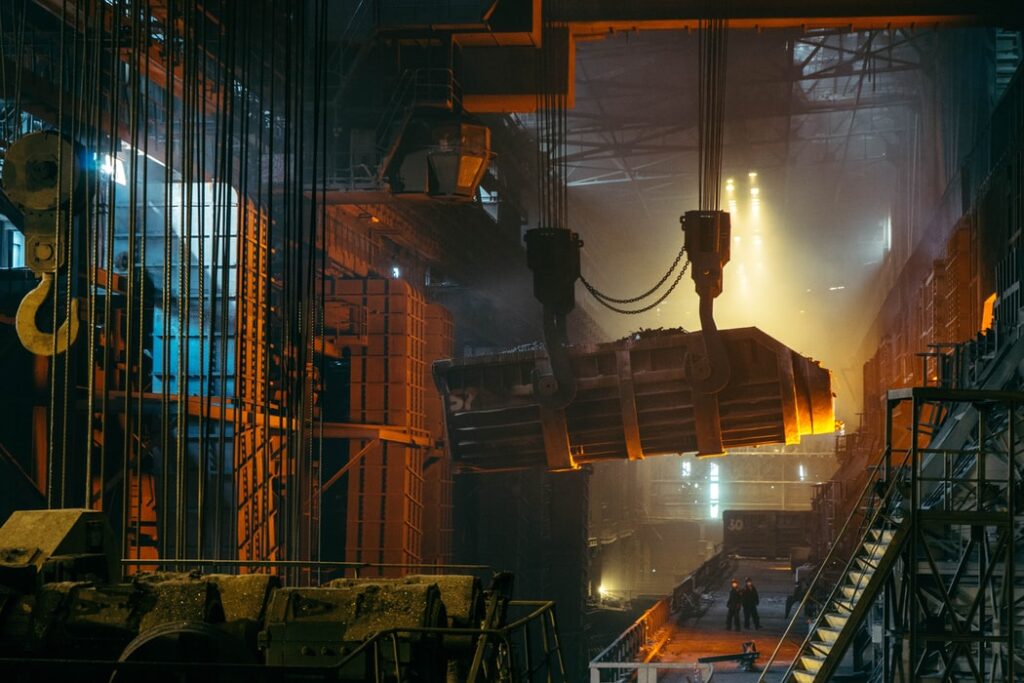
Furthermore, the wax needs to be removed from the shell, so the next part of the process is called dewaxing. Basically, all the shells are placed in a furnace and exposed to a temperature of about 1600 – 2000 Fahrenheit. Since the used wax can expand and thus, damage the shell, the additional holes are sometimes drilled into the pattern to reduce the stress. Similarly, the molds are preheated prior to the metal casting, not only to melt any residue wax but also to test their strength.
Now, it is time to pour metal into the molds. Once this is done, the molds are left to cool down at room temperature for some time. Then, the shell is removed using some of the multiple methods, such as vibrating, hammering, or it is simply dissolved by chemicals.
Lastly, it is time for heating and surface treatments that will greatly improve the overall features of the product. This is when all imperfections and impurities are removed, and the item is dipped into an anti-rust oil or water to enhance its anti-corrosion properties. As you can assume, after this is concluded, every item is thoroughly inspected before it is packed and shipped to customers.
Sand Casting Process
Before we go into details about this casting process, let us tell you a bit about its benefits and why it is preferred by so many manufacturers nowadays. The main reason is that this manufacturing process is perfect for large-scale production. Naturally, this is true if a company possesses all the tools and equipment and works in the right conditions.
Obviously, the first step is to design molds once again. Generally speaking, sand molds are created by packing sand into two halves of the already-existing pattern. Different types of sand mixtures can be used, and each of these is created for a specific set of products. For example, a mixture of natural and synthetic sand can be used, or, on the other note, manufacturers can opt for green sand (a mixture of sand and water) or dry sand.
After the sand is packed around the pattern and the pattern is removed, there will be a cavity that is the exact copy of the casting that will be made. Then, a gating system has to be made at one end of the mold where the metal will be poured in.
The next step is to heat the alloy until it becomes liquid and pour it into the cavity. During this part of the process, the entire cavity must be filled to ensure that the final product is perfect. In addition, this step must be completed quickly to avoid the premature solidification of the liquid steel.
Furthermore, once the metal is poured into the mold, it must cool, and this is a crucial step. The steel must solidify completely, and the required time can vary on multiple factors, such as the type of alloy and the thickness of the casting. If this step isn’t concluded correctly, many imperfections will be visible on the casting – it may shrink, crack, or it may be deformed.
Once this step is finished, it is time to remove the mold. Doing this is quite simple, considering that the mold is made out of the sand. Generally speaking, it is performed by a vibrating machine that simply shakes it until the sand is dissolved and the casting is free. However, in some cases, this type of machine may not be as efficient, meaning that sand may be trapped, so the professionals use blasting, which removes it completely from the surface.
Finally, there is a trimming part of the process where professionals remove all the imperfections and excess material from the item. This can be done manually with a hammer or saw, or once again, a trimming machine or press can be used. In the end, each product is thoroughly inspected and tested to ensure that it is of top quality and that it possesses all the important features before the merchandise is packed for shipment.

